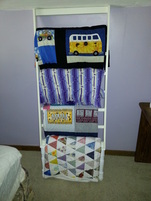
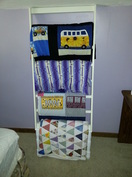
Last weekend I had to go get new tires so while I was waiting, I walked down the street to TJ Maxx to walk around and I saw these awesome shadow boxes for only $14 each! They are hinged and have magnets so you just pull it open and there is foam board inside with burlap so you can pin (or glue) whatever you want in there. I have been trying to decide what to do with some of our wedding stuff like the invitations and such and these are perfect! Sorry about the flash - until I get lamps set up in there it's too dark to take pics without the flash.
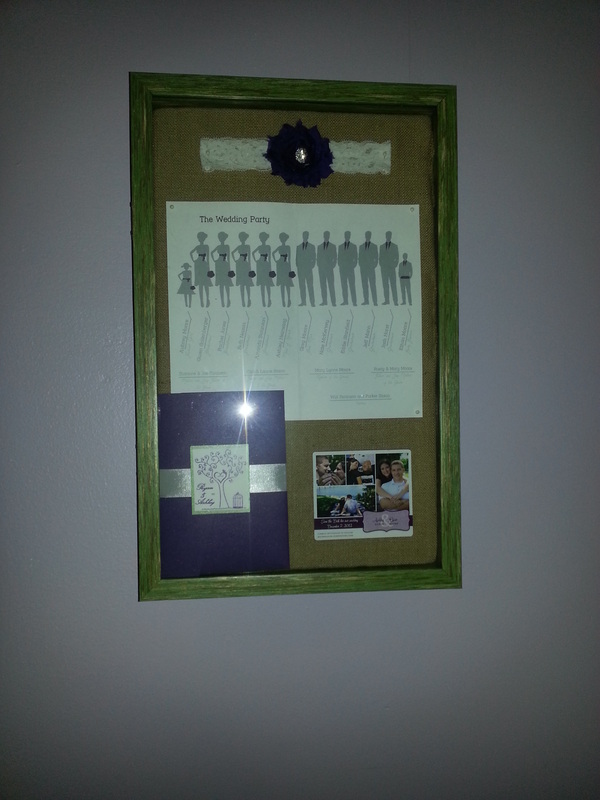
Top: Garter, Center: Wedding program, Bottom: Outside of invitation, Save The Date
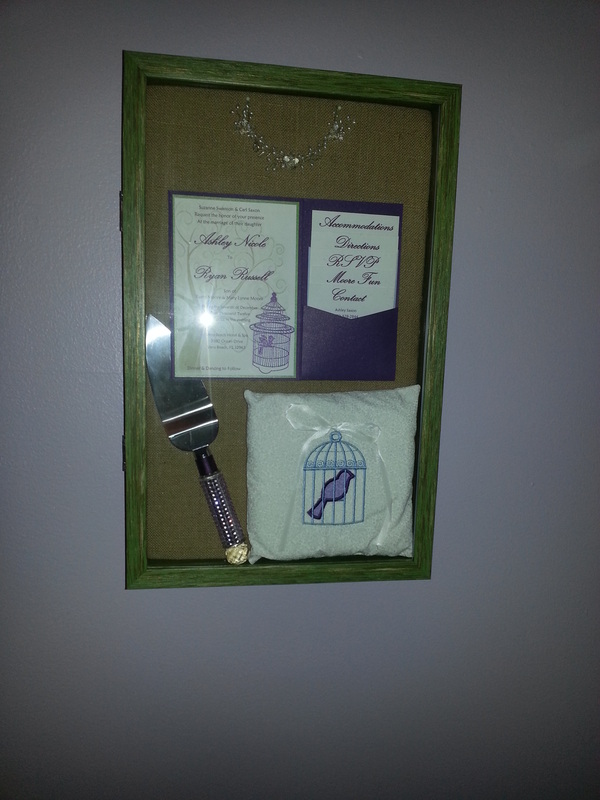
Top: My necklace, Center: Inside of invitation, Bottom: Cake server & ring bearer pillow
You may remember that I bought an upholstered crib off Craigslist earlier this year and I made three projects with it already: a tool organizer, a headboard and a quilt rack. I was also able to use a part of it to make a bulletin board!
You probably remember the other two projects I made from a Pottery Barn kids upholstered crib: a headboard and a tool organizer. Well that crib really was a great purchase! I also used the bottom of the crib to make a "ladder" to hang quilts on.
I was going to buy some cute European style Roman Shades online for the guest room but when I was walking around Joann Fabrics waiting to get the headboard fabric cut, I saw the cutest purple and green fabric and knew I wanted to try and make the shades myself!
Earlier this year, I bought an upholstered crib on Craigslist (not for a baby). The first thing I did with it was to turn one of the crib rails into a tool organizer for the quilt room (click the pic to see more about it). Well, now that I'm getting ready to re-do the guest room (finally!), it's time to finish my other crafts!
The other day, I saw someone had mentioned that they owned a fancy sewing desk and I thought I’d share the plans and a few pics for the sewing desk that I made out of cabinets from Home Depot! I've been using this sewing desk for a few years now and it is so AWESOME to have a nice big workspace where I can sit and sew, or cut or iron or do crafts!
For my birthday this year (it was in April), Ryan told me he was going to build the kitchen island I had designed. Around February or March, I sketched up a design of a small cabinet and counter top to put in our kitchen against the window and window ledge. We currently have the trash can and recycling bin there so the space is taken up anyways and the trash bins are rather unsightly. So I drew up some plans for something to conceal the bins, give me a little more storage space, and give me a little more counter room.
Can you believe we are already half way through the year?? I feel like just yesterday I was writing up an eval for first quarter. Before you know it summer will be over and it will be time for Halloween! At the beginning of the year I set some goals for myself and I promised to report how I’ve been doing on them so here’s the second quarterly overview. How are your new year’s goals or resolutions going? Did you already forget about them?
Ryan always asks me "When are you going to make something for us?" And he's right, I spend so much time making things for other people and I almost never make anything for myself or our home. So, I've decided that from now on I will try to alternate: One project for a customer or friend/family member and then one project for us. I have a lot of projects to do for gifts or customers this summer so I will probably have to do mostly small projects for myself in between them but I want to start thinking about one project that I am determined to accomplish this year. Recovering our patio furniture and making furniture covers.
Our patio furniture is in great shape but the cushions could use a little help. I never ended up getting patio covers to protect them and I didn't spray them with any protectant or anything. Considering they have been outside with no protection from sun or rain for almost 4 years, I'd say they've done pretty well. But i bet if I recover them and make covers to protect them when we aren't using them, they would probably stay looking great for as long as we have them!
Here's why i want to recover them, you can see how the fabric is starting to rip as it is just disintegrating:
So, speaking of being patient and making sure you don’t screw up…I finally decided to make my design wall. I used the measuring tape to decide how big I wanted the design wall to be (36” x 72) and then decided which side of the molding I wanted on the outside versus the inside of the “frame”. I marked all my pieces and got out the saw and miter box to cut them. First I cut the 72” pieces, and I was careful to make sure I measured to the outer points and marked which way the cuts need to go. But then I went to cut the 36” pieces and I guess I got a little sloppy because I cut these pieces opposite of the long pieces, doh!!
Unfortunately, I couldn’t salvage the two short pieces and I didn’t have any extra molding so I had to go back to Home Depot to get one more piece. I marked the pieces again – more carefully this time, and cut the last two pieces. The most frustrating part is that it is exhausting for me to cut these pieces by hand in the miter box so I was upset I wasted all that energy on those three cuts, ugh. But at least I got the pieces cut correctly this time and then I just sanded down the edges a bit so they were nice and smooth. I think they fit together pretty decently.
I am a part time quilter, full time engineer and hope to one day become a full time quilter. Feel free to read along as I explore quilting, cooking and anything else that strikes my fancy.